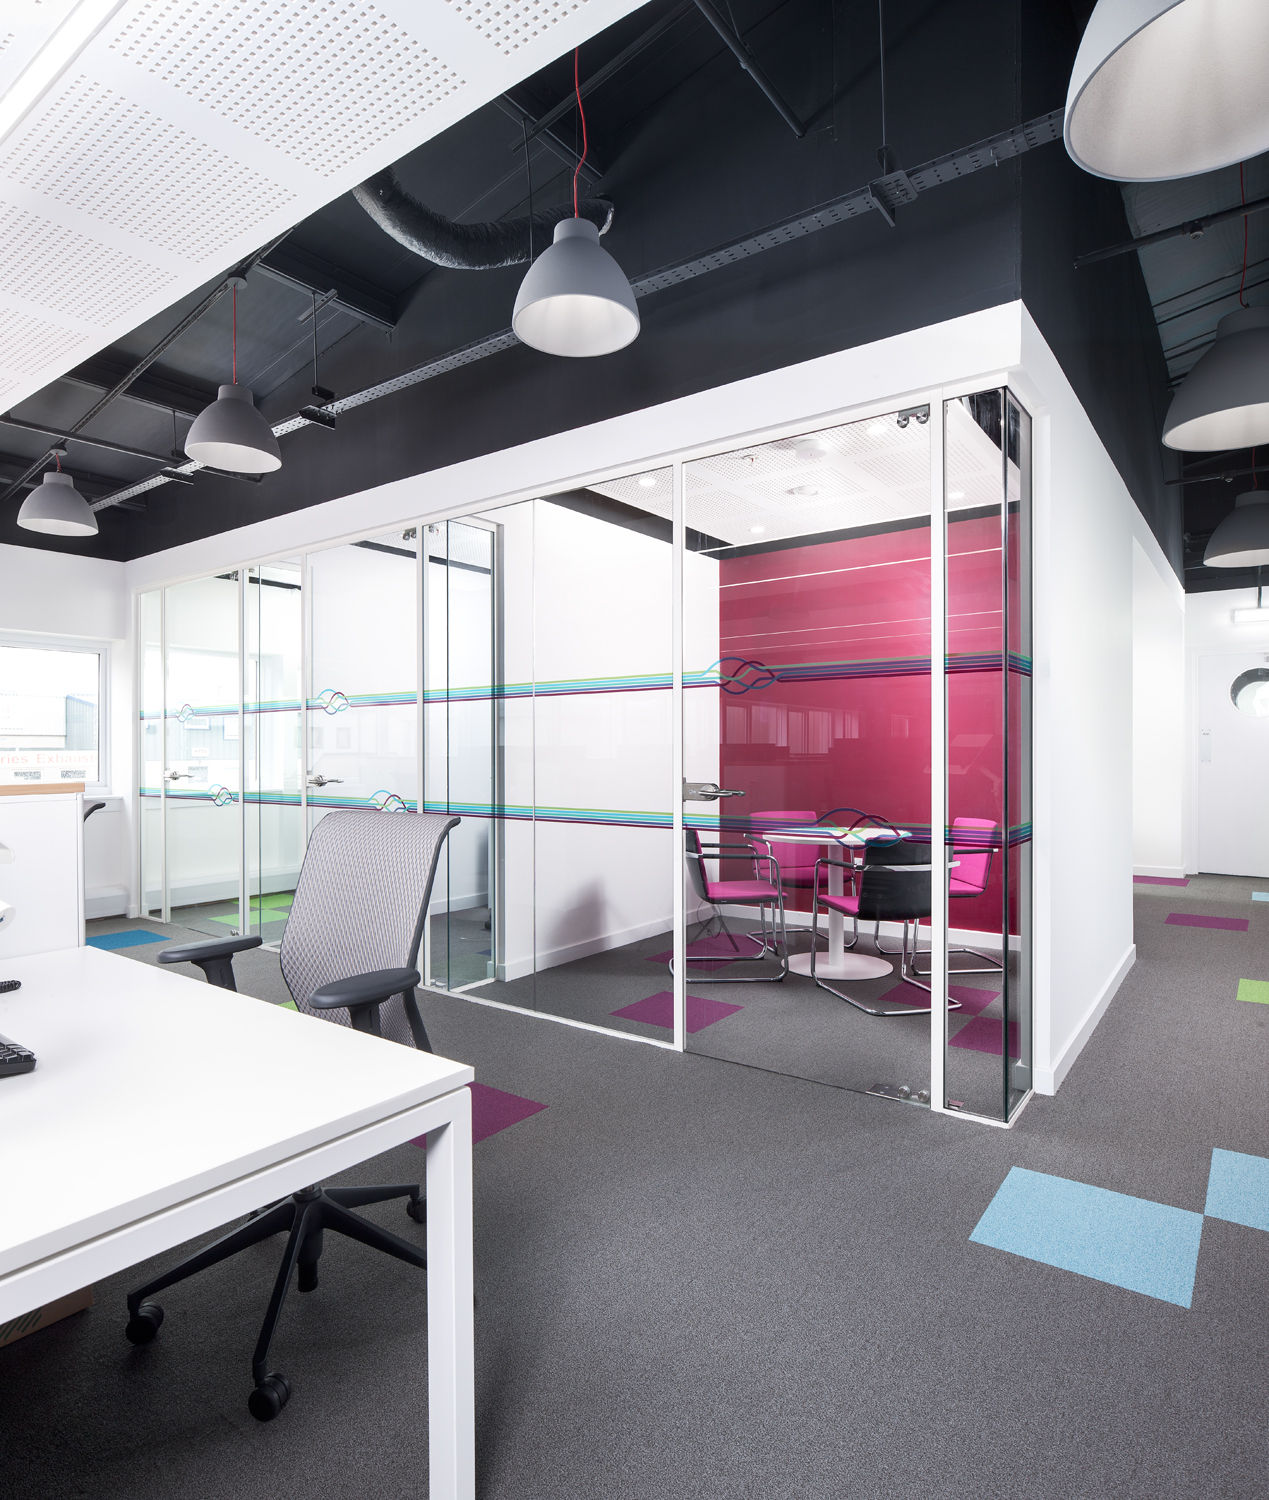
When it comes to office fit outs JAM Studio Architects are in their element. Here's some blurb from the JAM Studio website on the project:
"Following a series of feasibility studies for Aubin, JAMstudio were appointed to carry out the concept and detail design for the refurbishment of their existing office in Ellon. The brief involved the complete redesign of the open plan office areas to create an improved acoustically performing workplace. The footprint of the office was re-planned to provide additional meeting rooms and quiet spaces."
My job was to make interior photographs that were as close to the concept renders as possible, which is a really trick job as some renders border on the impossible when it comes to real world optics. Thankfully having a Canon TS-E 17 f4L really helps me get close, not to mention the brilliant TS-E 24 f3.5L mk2 as well. It's not all about the equipment though, it's about how you use the tools at your disposal to make the image you want to see, but without those specialist lenses, these interior photographs would simply not be possible. Further to that as you can see from the image above, the supplementary lighting I use when I'm shooting Architectural interiors really comes into play.
The shot on the left was taken as an assessment ambient frame to see where the problems were going to be. I think we can all agree as 'straight from camera' shots go, it's pretty useless, there's very little you can do to rescue a shot like that.

Even if we turn on the ambient lighting, it's still not enough to rescue the shot, not the yellow colour temperature of the lights as well, not a desirable look, and a completely unserviceable shot. So how do we get to this point below.

There's no shortcut that's for sure, and John from JAM who helped me on the day will testify to that. Lighting was the only option, and in wide open office spaces like this, it's a hard task as there almost nowhere to hide the lights, there is more often than not always a way though, and that's where getting a photographer who knows how to solve problems on the hoof pays. Here's a finished edit showing the office in wider context, as you can see almost no hiding places for my lighting.

Every shot we took was also stitched from the movements on the shift lenses so we could take in the lighting and ceiling details, this was another part of the brief, so there was a lot of compositing required. We had to light each booth individually as well to balance with the lighting in the main space. These had to be composited to keep the reflections on the glass to a minimum. Anyone who has tried lighting interiors where there is a lot of glass will understand how much of a headache that can be, as you can see from this ambient frame.

Here's a frame where I've started to light the main office space, notice the reflections are still not great, but you can see things starting to take shape with regards to balance and colour.

This is merely the start of a long fairly complicated shot to reach the final image. I'm not going to lay it on a plate, I figured this out on the hoof, and the work involved was quite intense, on location and then later in post-production. There's some clues in the image, but the final shot is completely impossible to bag in one shot. I'll have the full set of images on the website soon, hopefully this will get the thought processes rolling in the meantime. Happy lighting.